HORIBA - CAMSIZER XT
Manufactured by HORIBA
The new CAMSIZER XT provides particle size and shape distribution analysis needed for the quality control of fine...
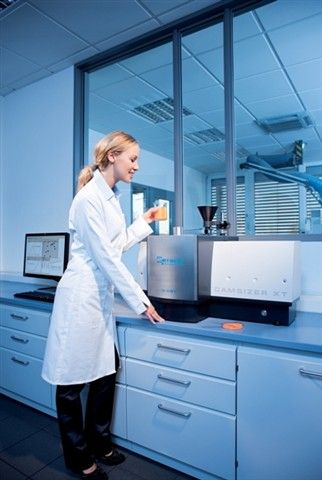
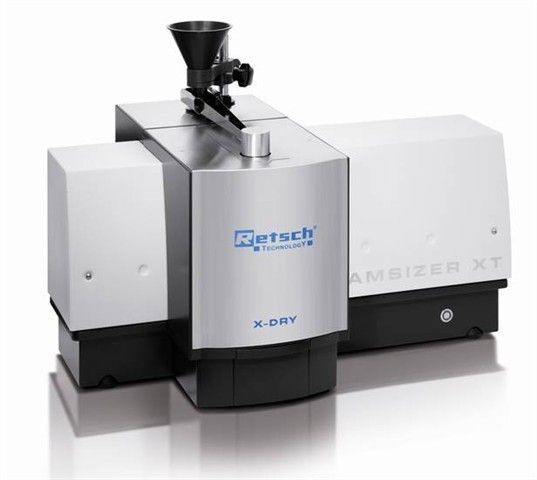
The new CAMSIZER XT provides particle size and shape distribution analysis needed for the quality control of fine powders and suspensions.
The design of the CAMSIZER XT is based on the well-proven dynamic image analysis system CAMSIZER but is optimized for finer samples (from 1 µm to 3 mm). Both improved optical resolution and new options for material feeding allow for an extended application range. A range of sample presentation devices feed the sample to the measurement zone and provide the desired dispersion energy in order to de-agglomerate the sample without breaking individual particles. The CAMSIZER XT offers the flexible X-Change system: the X-Fall module (free fall mode), which is the most gentle method for the material, the X-Jet module with adjustable pressure and variable nozzle geometry, and the X-Flow module in which particles are dispersed in liquids, optionally by ultrasound.
Industries and applications benefiting from size and shape analysis by the CAMSIZER XT include fine powders such as sand, abrasives, food, polymers, crushed glass, building materials, metal and ore powders, and pharmaceutical powders/granules. Measurement time is ~ 1 to 3 min depending on the desired measuring statistics. Reported result parameters include smallest diameter, length, mean diameter, aspect ratio, symmetry, sphericity, and convexity. Results can easily and accurately match historic results from other techniques (sieves, microscopy, diffraction) with the appropriate selection of result parameters and automated software features.
Active Questions & AnswersAsk a Question
There are no current Discussions
Particle Size Analyzers Service ProvidersView All (2)
Documents & ManualsView All Documents
Features of CAMSIZER XT
- Simultaneous analysis of particle size and shape
- Digital image processing with patented two-camera-system (acc. to ISO 13322-2)
- Wide dynamic measuring range from 1 Μm to 3 mm
- Newly developed optical system with ultra-strong LEDs for highest resolution and excellent depth of field for image sharpness
- Reliable detection of smallest amounts of “undersize” and “oversize”
- Very short measurement time of 1 – 3 minutes
- Modular system X-Change for dry and wet dispersion
- Measurement results are 100% compatible to sieve analysis if required
- Intuitive software
- Detailed particle size analysis - results are saved in more than 1,000 size classes
- Calibration in seconds
- Automatic measuring procedure
- Robust design, insensitive to dust and vibrations
- Self-cleaning, wear-free, maintenance-free
- Less time- and labor-intensive than sieve analysis or microscopy
General Specifications
| Depth | 600 mm |
| Height | 550 mm |
| Width | 860 mm |
| Weight | 50 kg |
Additional Specifications
Measuring principle
Dynamic Digital Image Processing (ISO 13322-2)
Measuring range
1 µm to 3 mm (full possible range)
10 µm to 3 mm (free flowing particles)
1 µm to 1.5 mm (dry powder feeder)
1 µm to 600 µm (wet dispersion)
Type of analysis
dry and wet analysis
Measuring time
~ 1 to 3 min (depending on the desired measuring statistics)
Sample volume
250 images/s, each with approx. 1.3 MPixel
Width of analysis area
25 mm (FoV)
Resolution
1 µm
Measurement parameters
particle size (smallest diameter, length, mean diameter)
Particle shape (aspect ration width to length, symmetry, sphericity, convexity etc., acc. to ISO 9276-6)


